Bulletin is a minimal newsletter theme for Ghost. The theme divides your homepage into two sections. The left-hand section is optimized for capturing new email subscribers with a punchy background color. The right-hand section shows an excerpt from the latest issue you’ve published.
Log into Ghost, and go to the Design settings area to upload the zip file
Development
Styles are compiled using Gulp/PostCSS to polyfill future CSS spec. You’ll need Node, Yarn and Gulp installed globally. After that, from the theme’s root directory:
# Install
yarn

# Run build & watch for changes
yarn dev
Now you can edit /assets/css/ files, which will be compiled to /assets/built/ automatically.
The zip Gulp task packages the theme files into dist/bulletin.zip, which you can then upload to your site.
yarn zip
Contribution
This repo is synced automatically with TryGhost/Themes monorepo. If you’re looking to contribute or raise an issue, head over to the main repository TryGhost/Themes where our official themes are developed.
Copyright & License
Copyright (c) 2013-2025 Ghost Foundation – Released under the MIT license.
FortiAuth-Import is a solution to a FortiAuth appliance failing to provide a decent user import functionality. I couldn’t find any other tool that does this in any capacity.
Some of the advantages when using this script, listed below:
Returning all possible issues with an import file, i.e. not stopping on the first error
Reduce the time it takes to import 1000’s of users from hours to a few minutes
Unassigning tokens from existing users for new users
Ability to update existing users with a new token
Ability to use this to automate importing users, i.e. watching a folder for new csv files
Getting Started
Development Install
git clone https://github.com/quonic/fortiauth-import.git
cd fortiauth-import
.\build.ps1 -Tasks Pester
That will build it to a complete usable module in the .\output\ directory.
DataMiner is a transformational platform that provides vendor-independent control and monitoring of devices and services. Out of the box and by design, it addresses key challenges such as security, complexity, multi-cloud, and much more. It has a pronounced open architecture and powerful capabilities enabling users to evolve easily and continuously.
The foundation of DataMiner is its powerful and versatile data acquisition and control layer. With DataMiner, there are no restrictions to what data users can access. Data sources may reside on premises, in the cloud, or in a hybrid setup.
A unique catalog of 7000+ connectors already exists. In addition, you can leverage DataMiner Development Packages to build your own connectors (also known as “protocols” or “drivers”).
At Skyline Communications, we deal with world-class solutions that are deployed by leading companies around the globe. Check out our proven track record and see how we make our customers’ lives easier by empowering them to take their operations to the next level.
PyOWM is a client Python wrapper library for OpenWeatherMap (OWM) web APIs. It allows quick and easy consumption of OWM data from Python applications via a simple object model and in a human-friendly fashion.
PyOWM runs on Python 3.9+
Former Dark Sky API users: you can can use PyOWM to get OpenWeatherMap’s OneCall API data as an easy replacement to Dark Sky
What kind of data can I get with PyOWM ?
With PyOWM you can integrate into your code any of the following OpenWeatherMap web APIs:
Weather API v3.0 + OneCall API, providing current weather data, weather forecasts, weather history
Agro API v1.0, providing soil data and satellite imagery search and download
Air Pollution API v3.0, providing data about CO, O3, NO2 and SO2
UV Index API v3.0, providing data about Ultraviolet exposition
Stations API v3.0, allowing to create and manage meteostation and publish local weather measurements
Weather Alerts API v3.0, allowing to set triggers on weather conditions and areas and poll for spawned alerts
Image tiles for several map layers provided by OWM
Geocoding API v1.0 allowing to perform direct/reverse geocoding
In case of trouble…
Please read the FAQ before filing a new issue on GitHub! There are many common issues, therefore a fix for your issue might come easier than you think
Get started
API key
As OpenWeatherMap APIs need a valid API key to allow responses, PyOWM won’t work if you don’t provide one. This stands for both free and paid (pro) subscription plans.
You can signup for a free API key on the OWM website
Please notice that the free API subscription plan is subject to requests throttling.
Example
With a free OWM API Key:
frompyowmimportOWMfrompyowm.utilsimportconfigfrompyowm.utilsimporttimestamps# ---------- FREE API KEY examples ---------------------owm=OWM('your free OWM API key')
mgr=owm.weather_manager()
# Search for current weather in London (Great Britain) and get detailsobservation=mgr.weather_at_place('London,GB')
w=observation.weatherw.detailed_status# 'clouds'w.wind() # {'speed': 4.6, 'deg': 330}w.humidity# 87w.temperature('celsius') # {'temp_max': 10.5, 'temp': 9.7, 'temp_min': 9.0}w.rain# {}w.heat_index# Nonew.clouds# 75# Will it be clear tomorrow at this time in Milan (Italy) ?forecast=mgr.forecast_at_place('Milan,IT', 'daily')
answer=forecast.will_be_clear_at(timestamps.tomorrow())
# ---------- PAID API KEY example ---------------------config_dict=config.get_default_config_for_subscription_type('professional')
owm=OWM('your paid OWM API key', config_dict)
# What's the current humidity in Berlin (Germany) ?one_call_object=mgr.one_call(lat=52.5244, lon=13.4105)
one_call_object.current.humidity
Installation
Install with pip for your ease:
$ pip install pyowm
There are alternatives: setuptools, Windows installers and common Linux package managers such as Yaourt (Arch Linux)YaST/Zypper (OpenSuse) (please refer to the documentation for more detail)
Eager to fetch the very latest updates to PyOWM? Install the development trunk (which might be unstable). Eg on Linux:
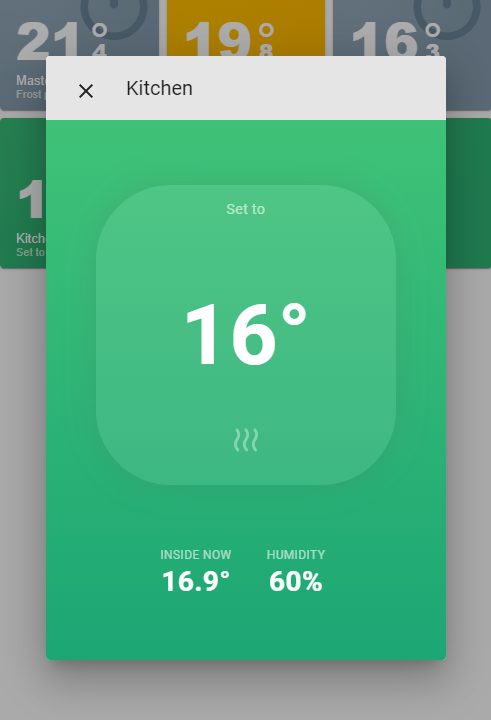
HACS installation:
Go to the hacs store and use the repo url https://github.com/whatdaybob/tadothermostat-popup-card and add this as a custom repository under settings.
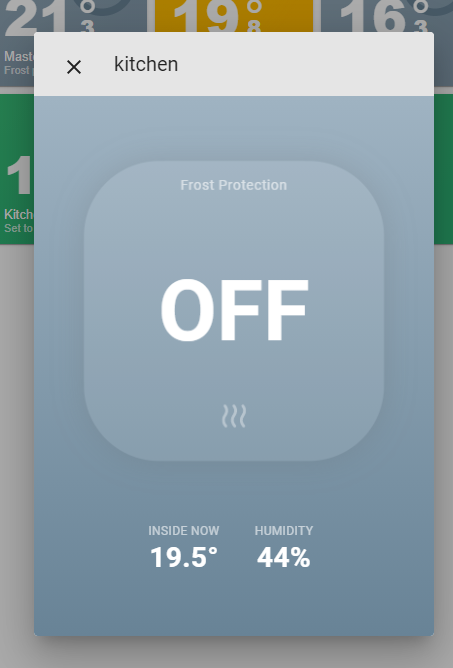
HACS installation:
Go to the hacs store and use the repo url https://github.com/whatdaybob/tadothermostat-popup-card and add this as a custom repository under settings.
SpacyDotNet is a .NET wrapper for the natural language library spaCy
Project scope and limitations
This project is not meant to be a complete and exhaustive implementation of all spaCy features and APIs. Altough it should be enough for basic tasks, think of it as a starting point, if you need to build a complex project using spaCy in .NET
Most of the basic features in Spacy101 section of the docs are available. All Containers classes are present (Doc, DocBin, Token, Span and Lexeme) with their basic properties/methods running. Also Vocab and StringStore in a limited form.
Nevertheless any developer should be ready to add the missing properties or classes in a straightforward manner.
Requirements
This project relies on Python.NET to interop with spaCy, which is written in Python/Cython.
It’s been tested under Windows 11 and Ubuntu Linux 20.04, using the following environment
It should work with spaCy 2.3.5 and any other spaCy version that changes only its minor/patch version number
Python.NET has been tested with Python releases 3.7 to 3.13
Setup
1) Create a Python virtual environment and install spaCy
It’s advised to create a virtual environment to install spaCy. Depending on the host system this is done in different ways. The spaCy official installation guide is fine
To run the examples, we’ll also need to install the correspoding language package (es_core_news_sm) as shown in the guide.
2) Check for Python shared library
Python.NET makes use of Python as a shared library. Sadly, seems like the shared library is not copied with recent versions of virtualenv and it’s not even distributed in some flavours of Linux/Python >= 3.8
While I don’t understand the rationale behind those changes, we should check the following:
Windows
Check whether python312.dll in located under <venv_root>\Scripts folder. Otherwise, go to your main Python folder and copy all dlls. In my case: python3.dll, python312.dll and the vcruntime140.dll
Linux
Check whether a libpython shared object is located under <venv_root>/bin folder.
If not, we first need to check if the shared object is present on our system. find_libpython can help with this task.
If library is nowhere to be found, it’s likely that installing python-dev package with the package manager of your favorite distribution will place the file in your system.
Once we locate the library, drop it to the bin folder. In my case, the file is named libpython3.12.so.1.0
Usage
SpaCyDotNet is built to be used as a library. However I provide an example project as a CLI program.
1) Compile and Build
If using the CLI to run .NET, (Linux), we should simply browse to Test/cs folder and compile the project with dotnet build. Under Visual Studio, just load Test.sln solution
2) Run the project
The program expects two parameters
interpreter: Name of Python shared library file. Usually python312.dll on Windows, libpython3.12.so on Linux and libpython3.12.dylib on Mac
venv: Location of the virtual environment created with a compatible python and spaCy versions
Run the example with dotnet run --interpreter <name_of_intepreter> --venv <path_to_virtualenv> or if using Visual Studio, set the command line in Project => Properties => Debug => Application arguments
In my case:
Linux
dotnet run --interpreter libpython3.12.so.1.0 --venv /home/user/Dev/venvSpaCyPy312
Windows
dotnet run --interpreter python312.dll --venv C:\Users\user\Dev\venvSpaCyPy312
Code comparison
I’ve tried to mimic spaCy API as much as possible, considering the different nature of both C# and Python languages
C# SpacyDotNet code
varnlp=spacy.Load("en_core_web_sm");vardoc=nlp.GetDocument("Apple is looking at buying U.K. startup for $1 billion");foreach(Tokentokenindoc.Tokens)Console.WriteLine($"{token.Text}{token.Lemma}{token.PoS}{token.Tag}{token.Dep}{token.Shape}{token.IsAlpha}{token.IsStop}");Console.WriteLine("");foreach(Spanentindoc.Ents)Console.WriteLine($"{ent.Text}{ent.StartChar}{ent.EndChar}{ent.Label}");nlp=spacy.Load("en_core_web_md");vartokens=nlp.GetDocument("dog cat banana afskfsd");Console.WriteLine("");foreach(Tokentokenintokens.Tokens)Console.WriteLine($"{token.Text}{token.HasVector}{token.VectorNorm}, {token.IsOov}");tokens=nlp.GetDocument("dog cat banana");Console.WriteLine("");foreach(Tokentoken1intokens.Tokens){foreach(Tokentoken2intokens.Tokens)Console.WriteLine($"{token1.Text}{token2.Text}{token1.Similarity(token2) }");}doc=nlp.GetDocument("I love coffee");Console.WriteLine("");Console.WriteLine(doc.Vocab.Strings["coffee"]);Console.WriteLine(doc.Vocab.Strings[3197928453018144401]);Console.WriteLine("");foreach(Tokenwordindoc.Tokens){varlexeme=doc.Vocab[word.Text];Console.WriteLine($@"{lexeme.Text}{lexeme.Orth}{lexeme.Shape}{lexeme.Prefix}{lexeme.Suffix}{lexeme.IsAlpha}{lexeme.IsDigit}{lexeme.IsTitle}{lexeme.Lang}");}
Next, we’ll import pandas_montecarlo and run monte carlo simulation
with 10 simulations (for demo simplifications) and bust/max drawdown set to -10.0%
and goal threshhold set to +100.0% (defaults is >=0%):